Hairspring Week: Forming the Endcurve
These are the last steps before the oscillator gets installed into the watch for adjustments.
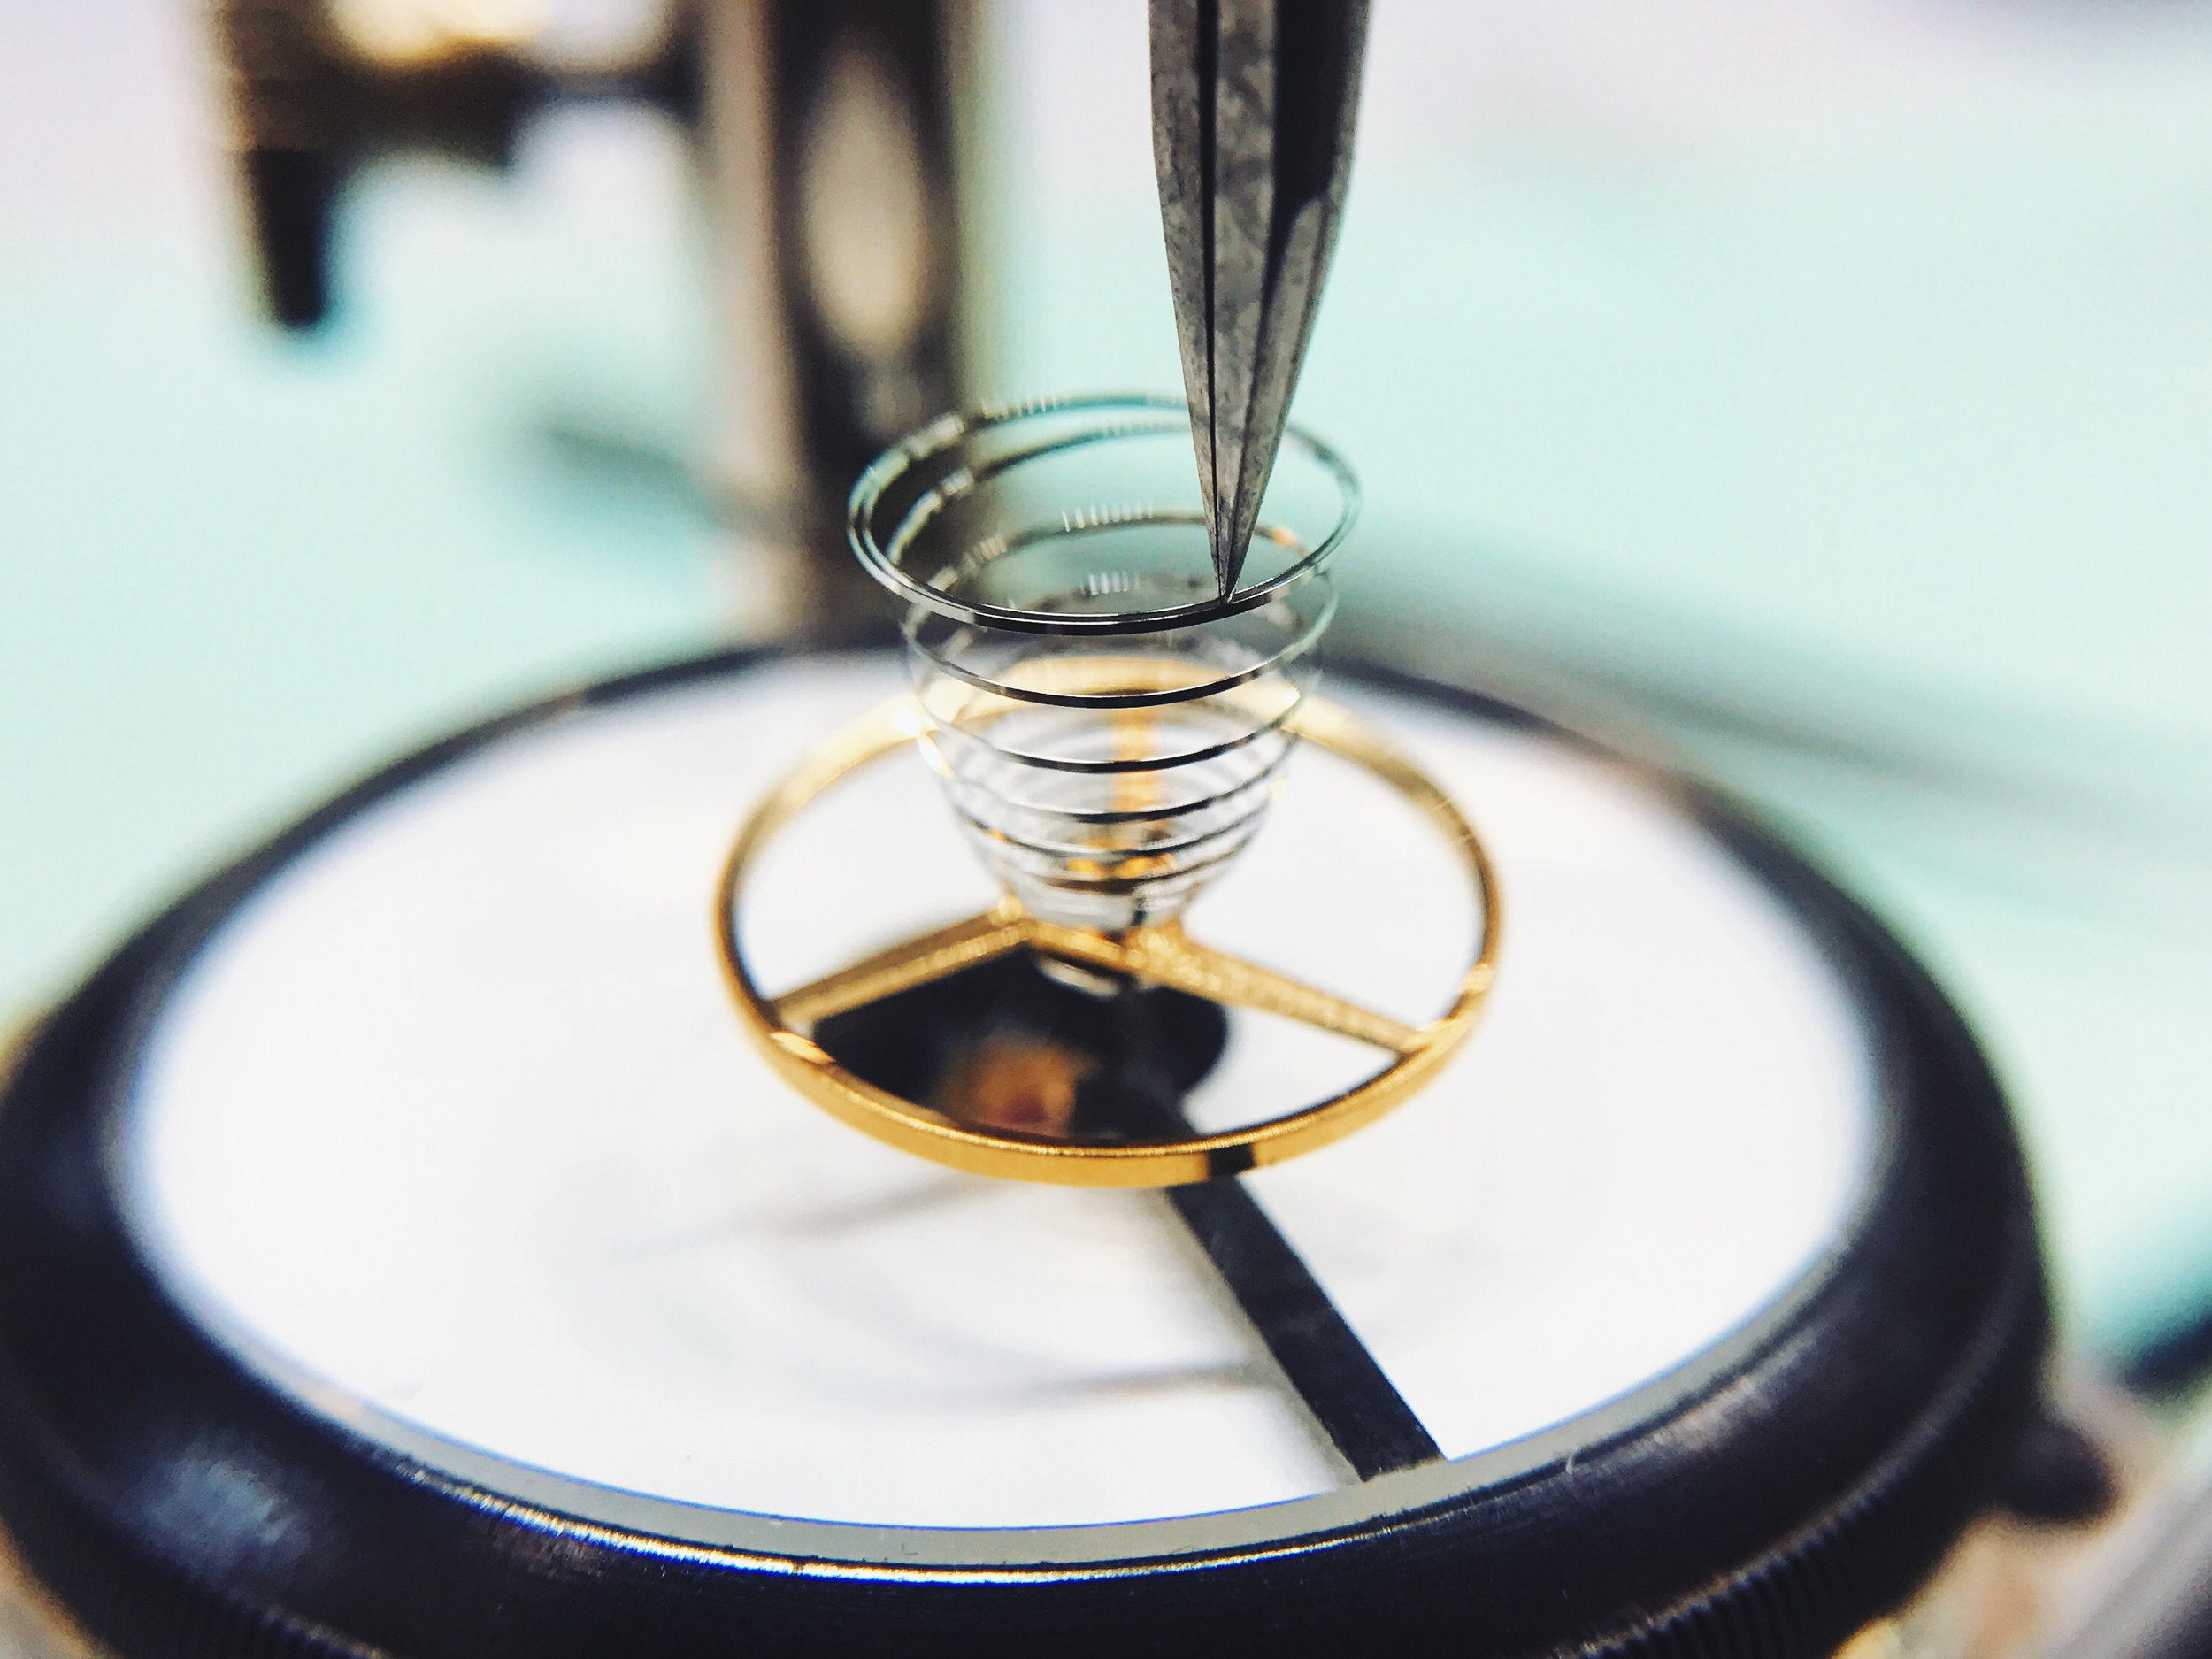
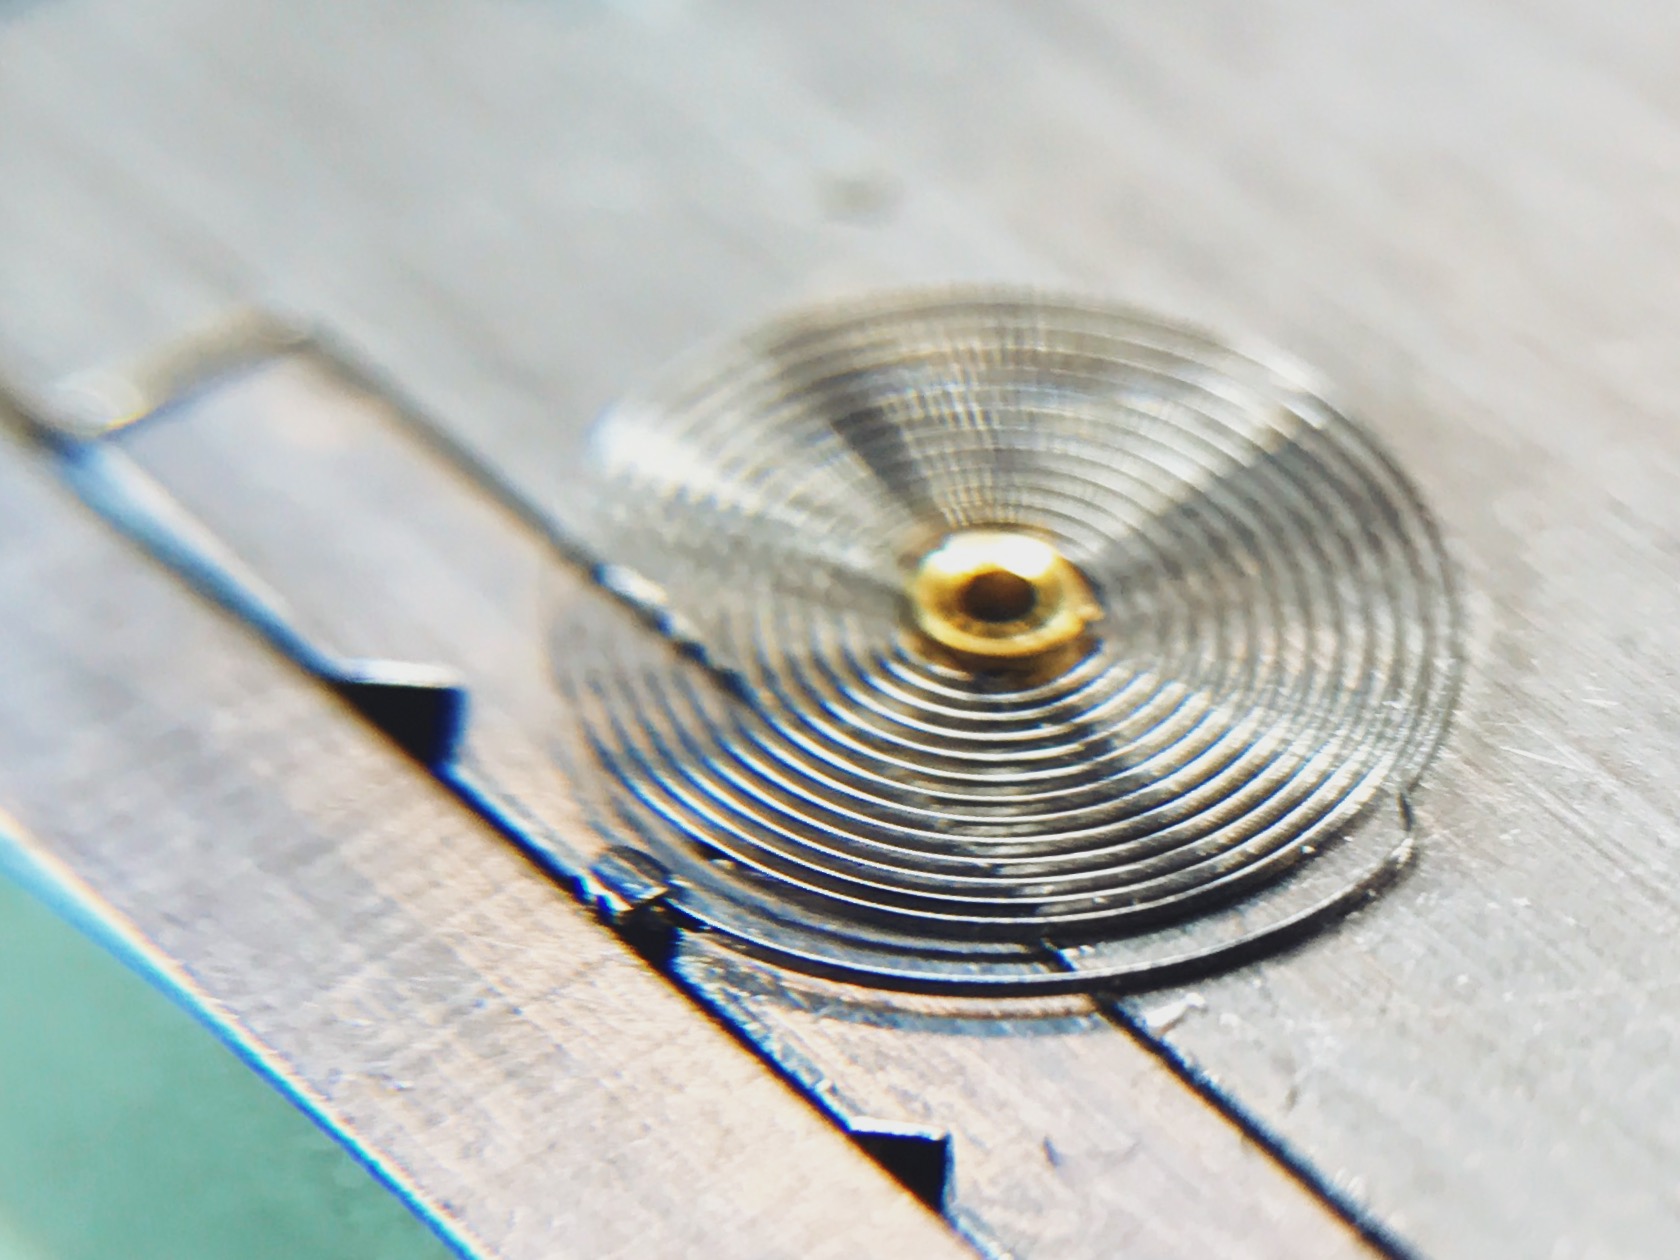
The 6497 uses a flat hairspring, which has an endcurve bent into it (at the end, naturally) to accommodate the stud and regulating pins.
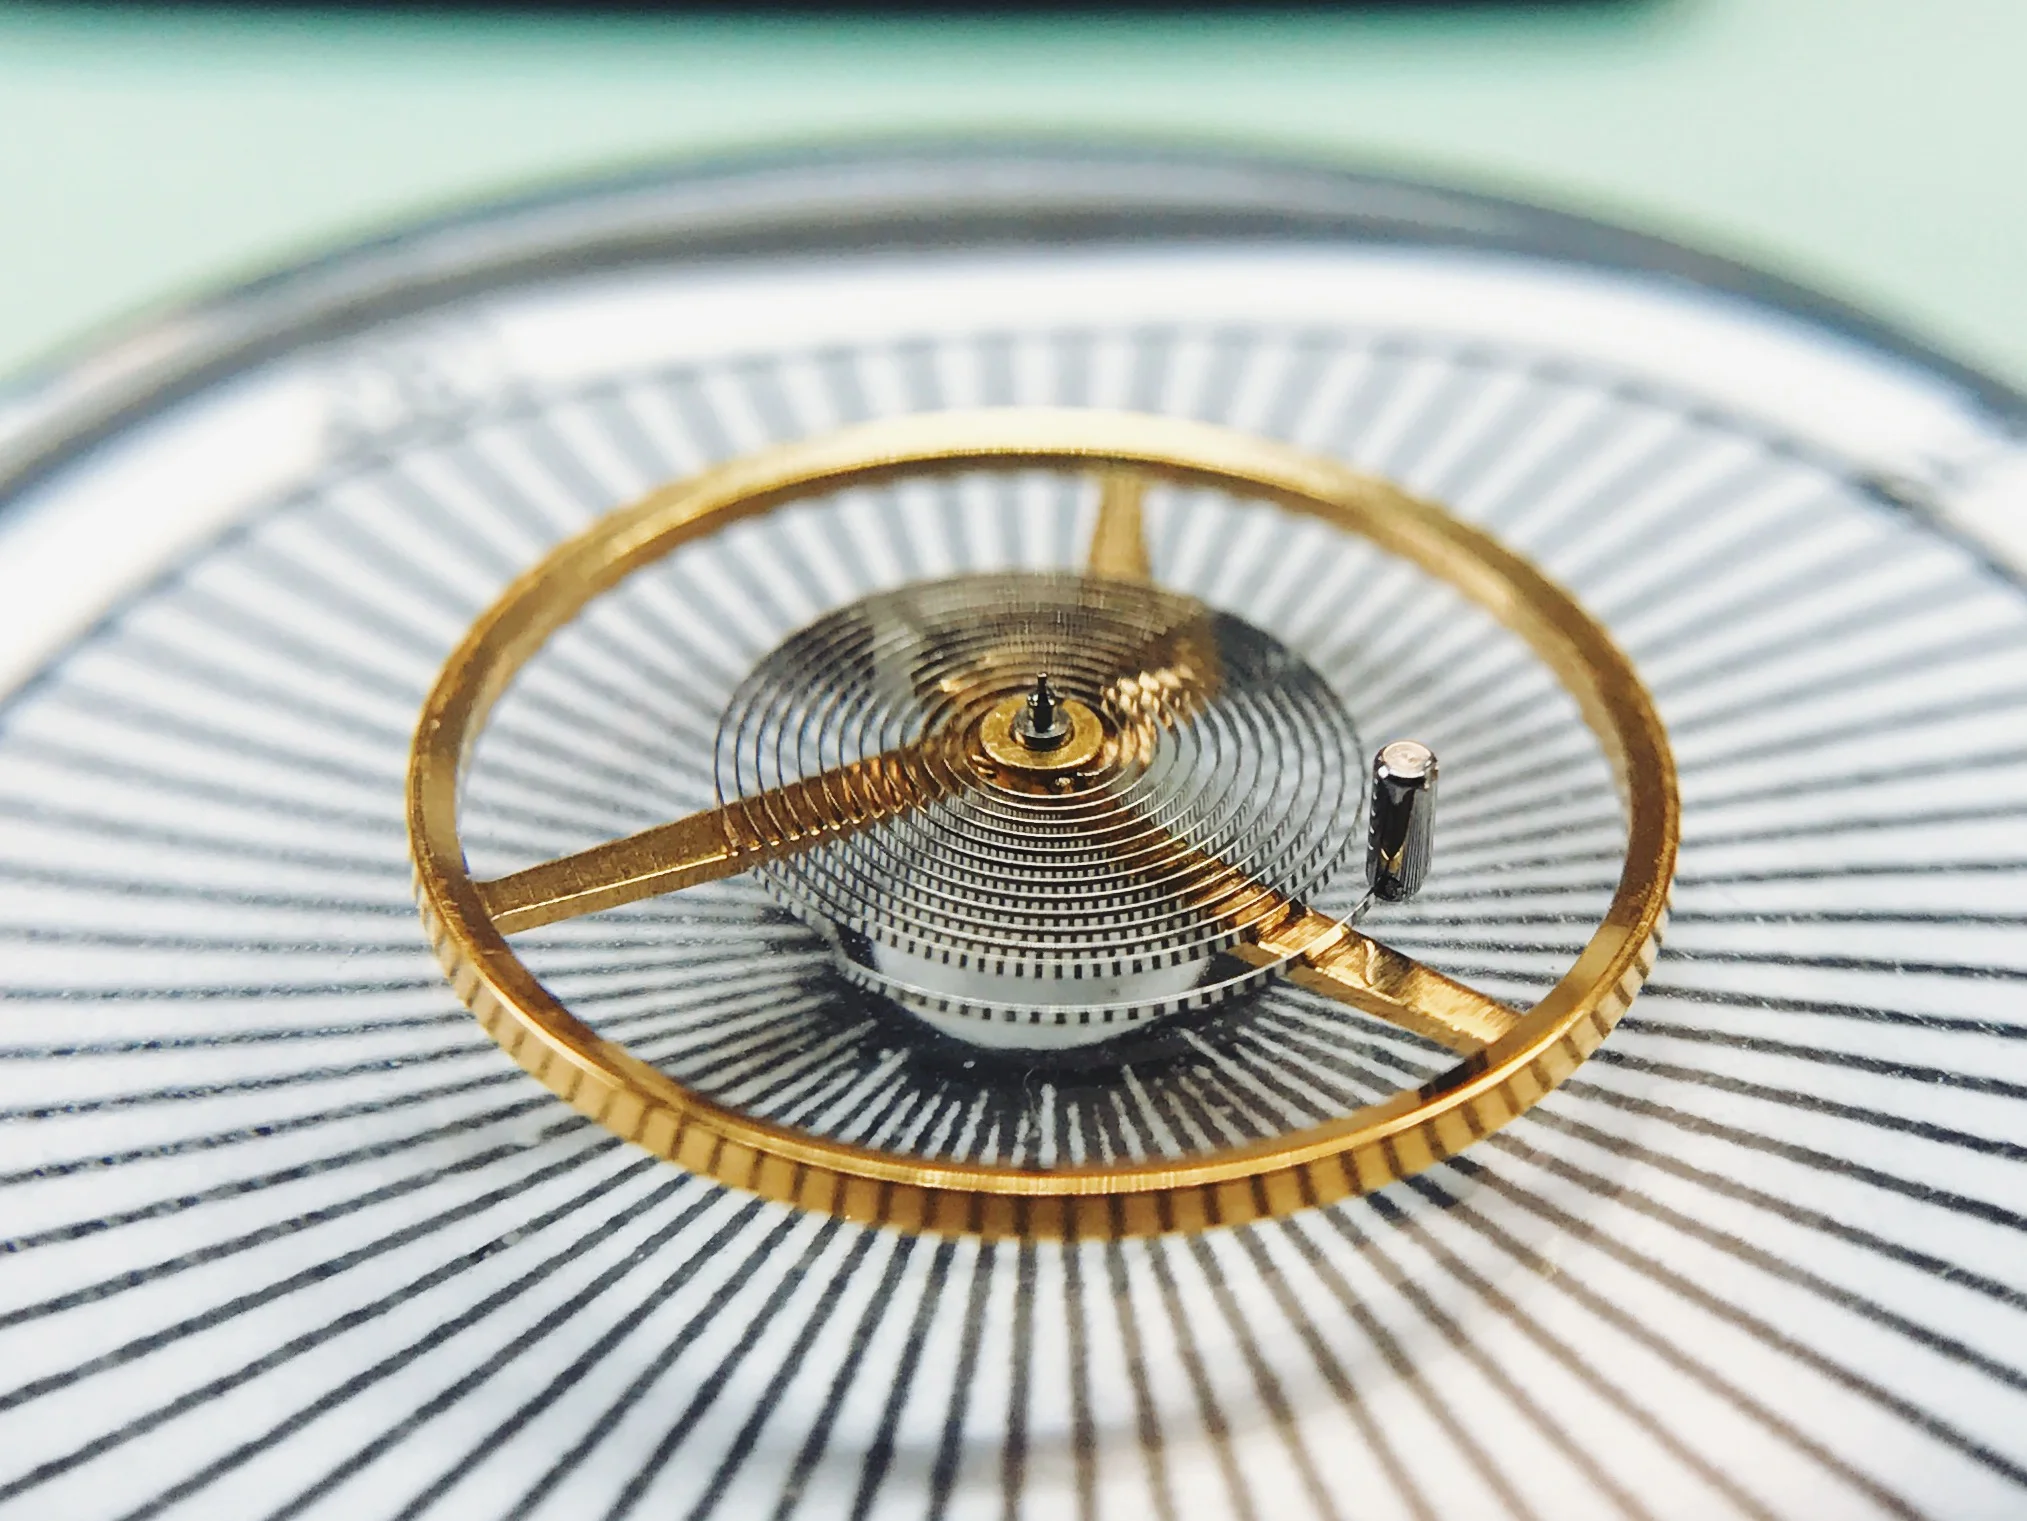
Not all hairsprings are flat, though. Rolex generally uses overcoil hairsprings in their watches, like the one here that I made for a 1575 movement. Overcoils bend up and over the hairspring to allow the entire spiral to "breathe" symmetrically. It's a different design philosophy, which has its benefits and faults. For now, we can ignore it and focus on endcurves.

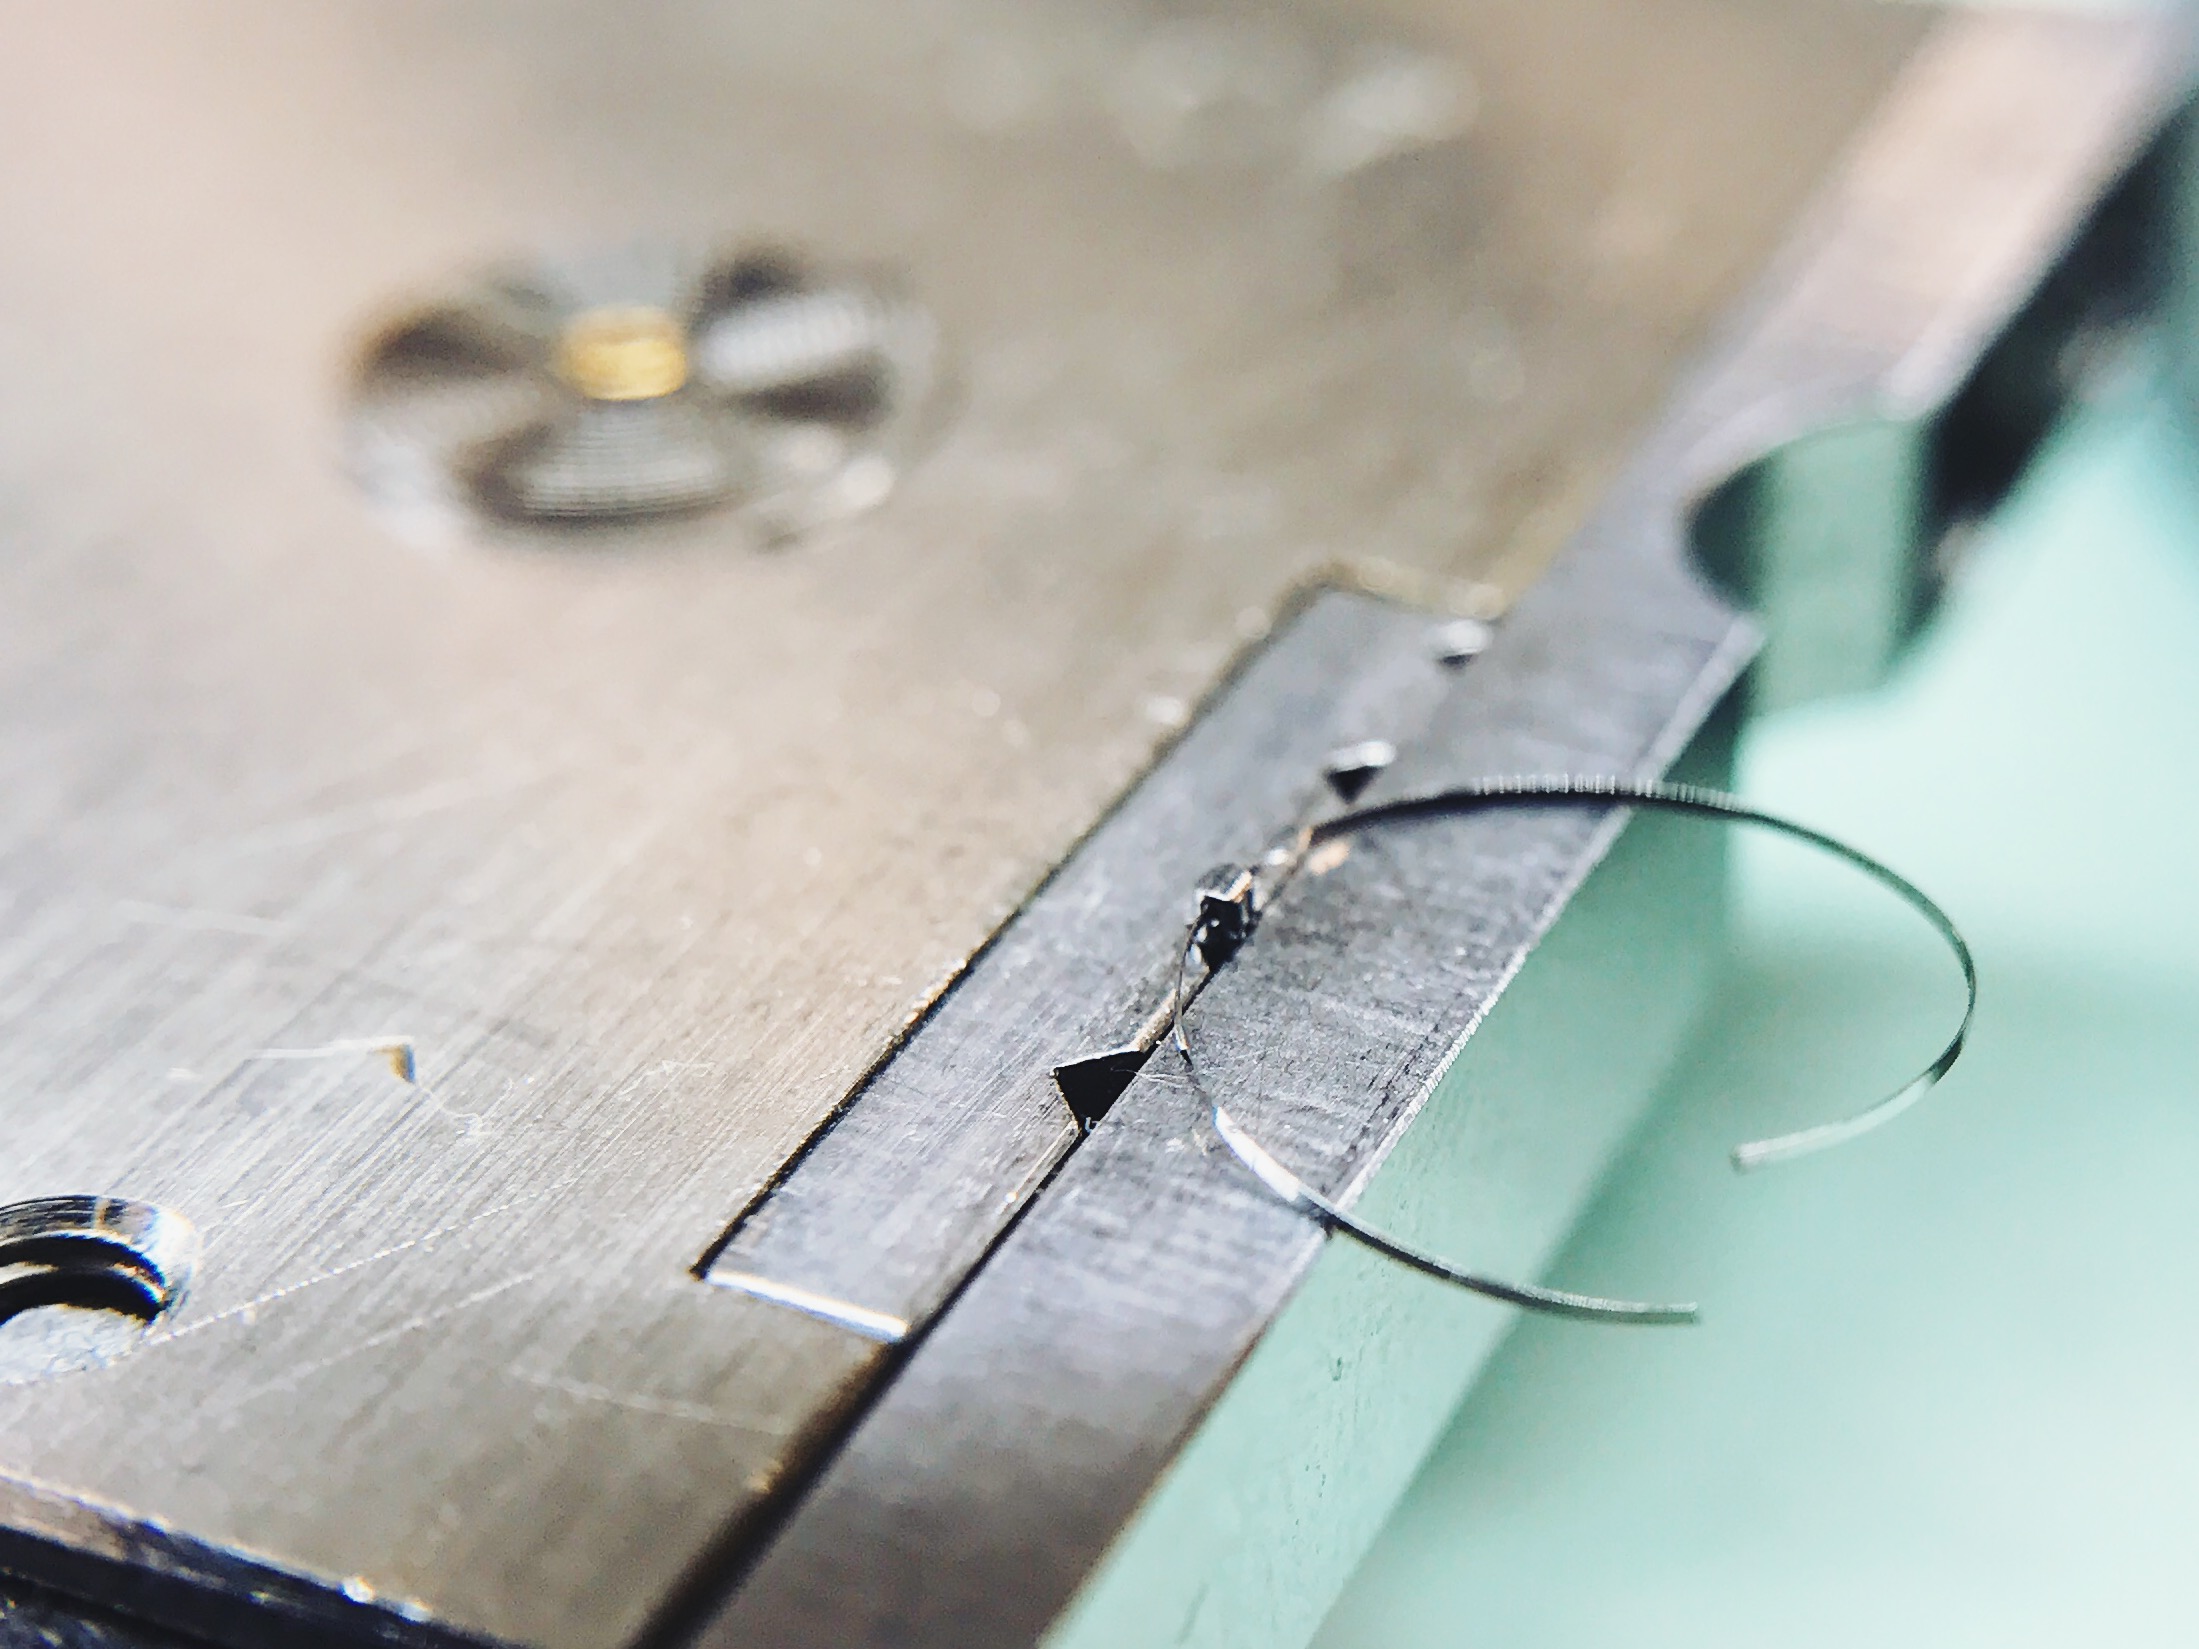
The first step before forming the endcurve is to break off the extra spring that you've been using as a reference point. The spring should extend about 45° past the vibrating point to leave enough room to pin it into the stud, and should ideally land the vibrating point halfway down the endcurve.

To form the curve, place the regulator arm at 0° and the stud carrier at 90°. The end of the spring should extend about 20° past the stud carrier. Then take a thin tweezer and place it at the point where the spring first crosses the regulator arm and make a 45° bend.
Re-center the spring on the balance bridge as best you can. Place your tweezers on the spring where it touches the regulator pins and make a second 45° bend.

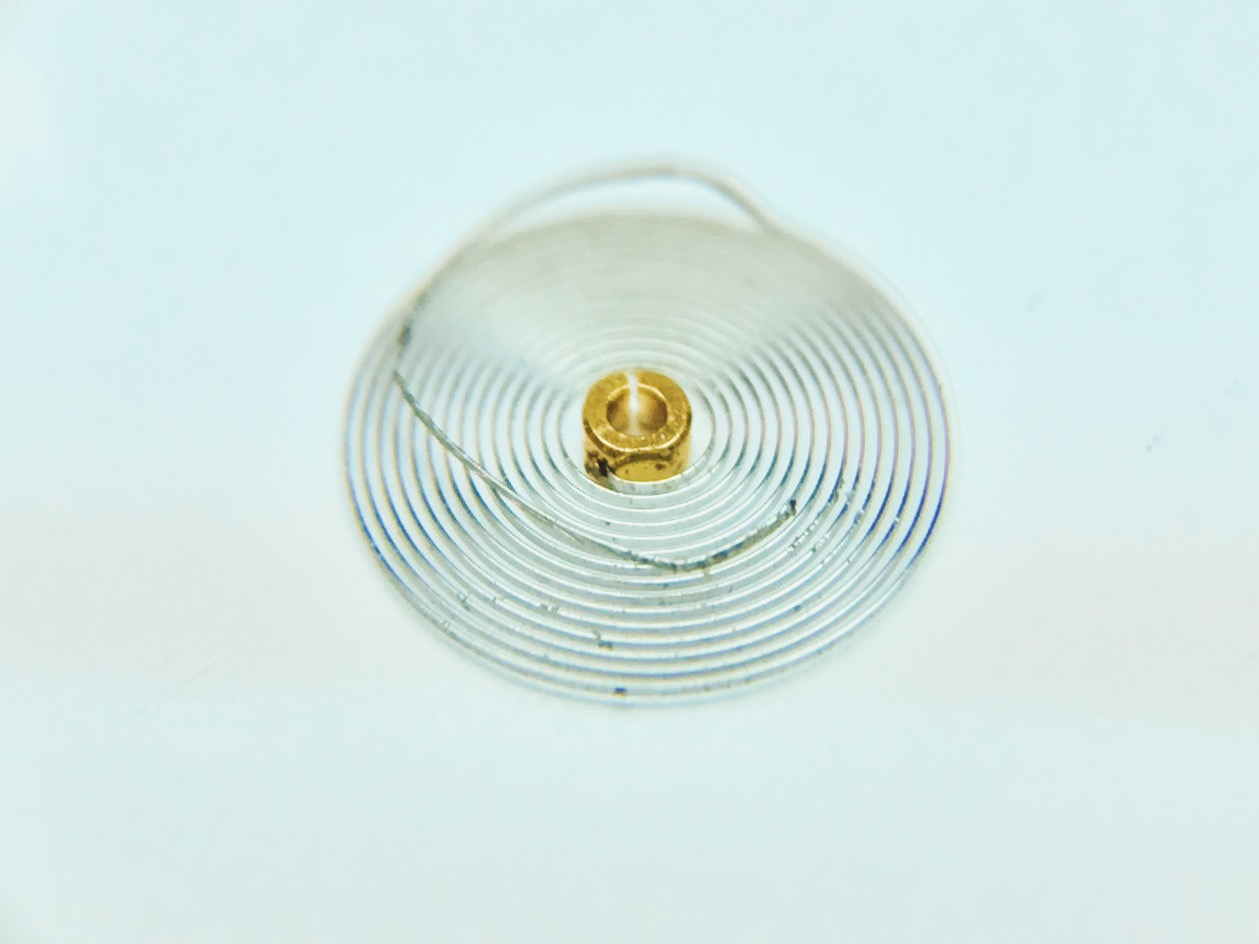
The spring should now have an endcurve! Since endcurve's radius has changed, you'll have to smooth out the curve to keep it concentric to the rest of the spring. The end of the spring should land at the stud (or at least at the hole where it fits), and the endcurve should pass through the regulator pins.
Of course, it's not that simple. Bending the endcurve can cause a huge number of problems to the spring, so your work has to be extremely delicate. Tweezers tend to form a "V" shape at their tips, and the broader the angle, the more the spring will form an up or down angle with respect to the rest of the spiral.
Up and down bends will form most of the corrections that we'll have to make in the next step. For now, get every thing as close to flat as you can, and break out the stud table.

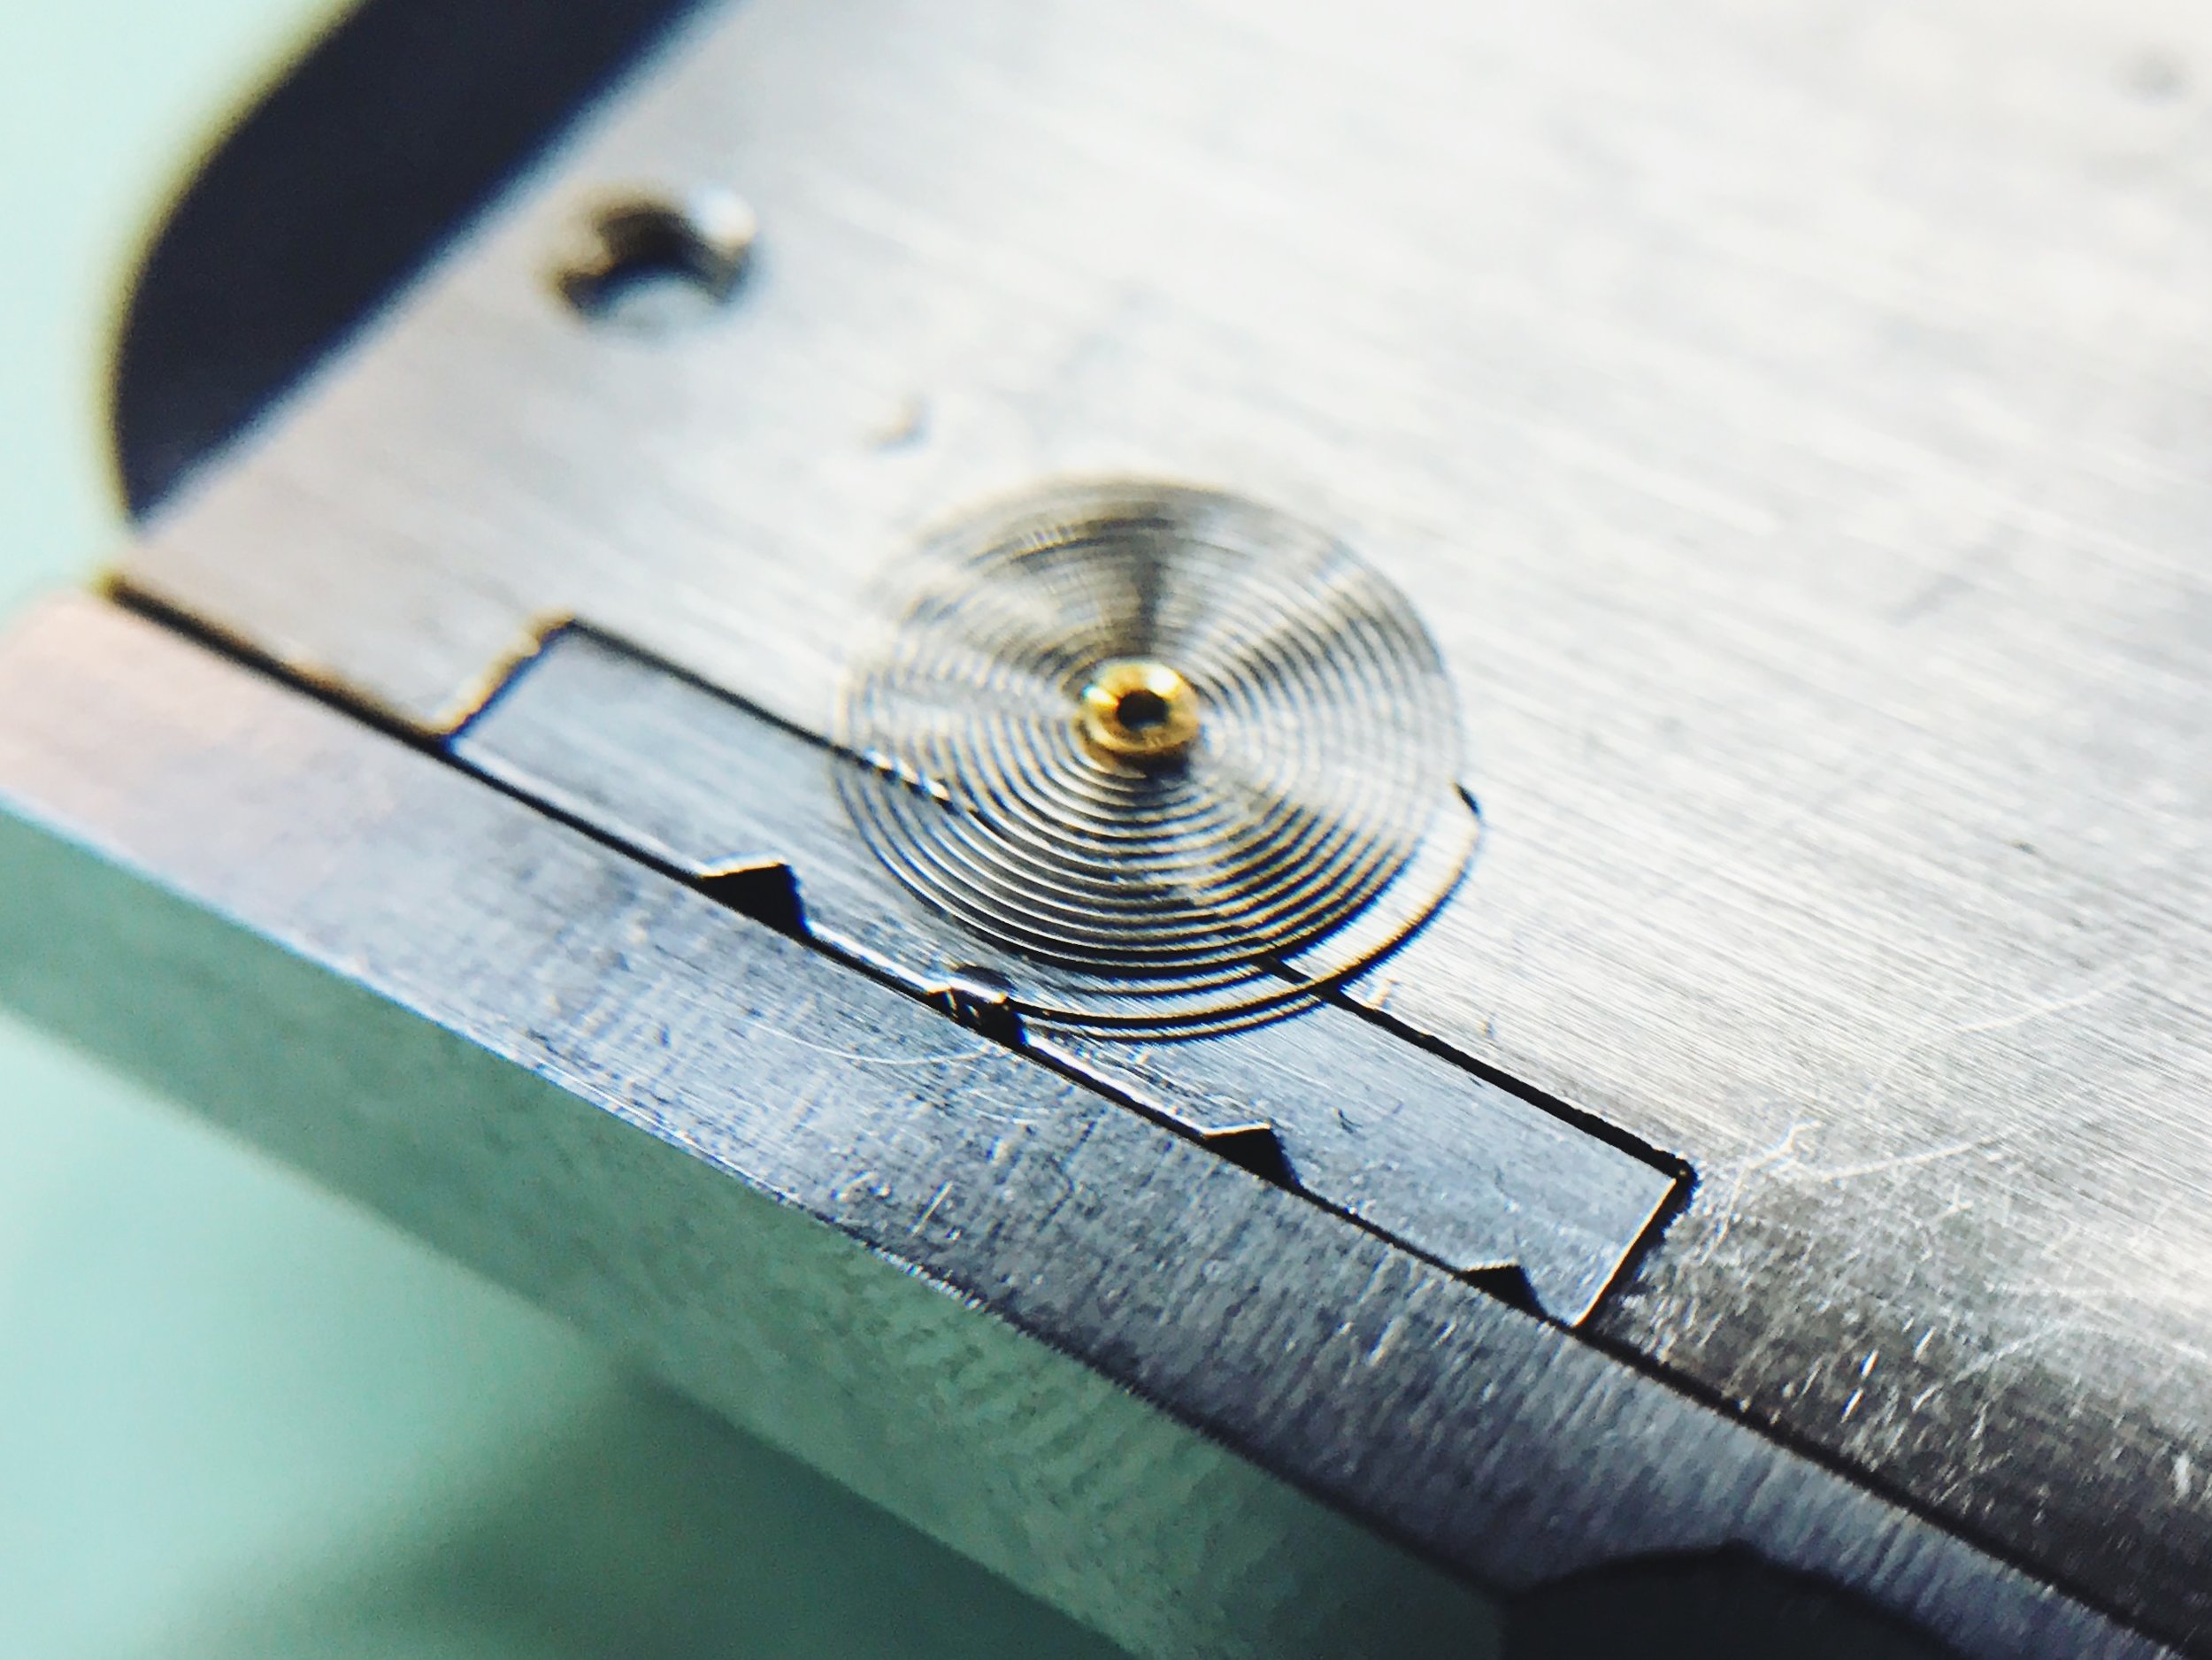
The stud table is a simple, single-purpose tool, but it's remarkably effective. The studs fit vertically into slots at the top, and the lever clamps them into place. This holds the stud still so you can pin the spring with ease.
It's handy to thread a little bit of extra cut-off hairspring into the stud to keep it from falling through the cracks when you're getting the tool set up. It's a huge pain to get the stud out if it slips down into the tool.
Otherwise, thread the spring through the stud and pin it in place. Make sure that the hairspring is pointing in the right direction, though, or you'll have to unpin it and do it all over again!

That's it for now! The most delicate operations of all, the adjustments, are coming next.
Watchmaking student at the Lititz Watch Technicum, formerly a radio and TV newswriter in Chicago.